DIY

Gucci Inspired DIY


When I saw THIS hand painted, embroidered, studded leather jacket go down the runway at Gucci Spring 2016, I was obsessed. So I decided to do a DIY version. 

I found an inexpensive leather jacket and then I used acrylic paint to paint a floral pattern all over.  

Success. 

1.JPG
2.JPG


Get the look with these similar jackets:


Upgrade You


If you're like me and decorating on a budget, but still need really nice looking things, a quick DIY project can spruce up the most basic furniture pieces, or dress up a bare wall. Here are a few things I did in my small apartment that didn't take too much time or money, but really helped glam up the space.

shelf.jpg

SHELF AND DESK UPGRADE

What you'll need:

Gold spray paint

I started with the Ikea Vittsjo shelf in white. (When I got it, it actually came with these white shelves, though it looks like online it comes with glass shelves.) Then I spray painted just the frame in three light, even, coats. My preferred gold spray paint is Rust-oleum Metallic in Gold. You're obviously not going to achieve that dipped-in-gold-shiny-metal-finish with spray paint, but this is the best option in terms of the shade of gold, sheen, and coverage. When it's all dry, you can also spray with a clear sealant to prevent nicks and scratches.

I get a lot of questions about my desk on Instagram, and that was a simple upgrade too. This desk came with silver legs and drawer pulls – I just spray painted the pieces gold, before assembling the desk, to coordinate with my desk chair. Since the arms of the chair are more of a matte gold the spray painted gold on the desk still works.  

NIGHTSTAND

What you’ll need:

Ikea Hemnes nightstand

a cute knob from World Market, Anthro, or a vintage find on Etsy

I just swapped out the plastic black knob with a brass one I found at World Market. I went simple gold, but you can try a more whimsical one, or a hand painted one, depending on the rest of your decor. Then I added a vanity tray that was about the same size as the top of the nightstand, to kind of fake a mirrored furniture effect.   

photogrid.jpg
photogrid_macro.jpg

PHOTO GRID

What you’ll need:

your printed photos

¼” foam core

poster tape

I had my travel instagram photos printed from Artifact Uprising as 5x5" matte prints. Then I cut 4x4” squares from foam core and used double sided tape to stick them to the back of each photo. Using poster tape, I mounted the photos to my wall in a grid. The poster tape is great because it won’t damage the wall, and the photos are light enough that you don’t need anything more than that.


How to Design a Gallery Wall


One of my favorite ways to make an impact in a room is with wall art. 

Here are a few tips to keep in mind when designing a gallery wall that's Pinterest-worthy: 

COLOR STORY IS KEY

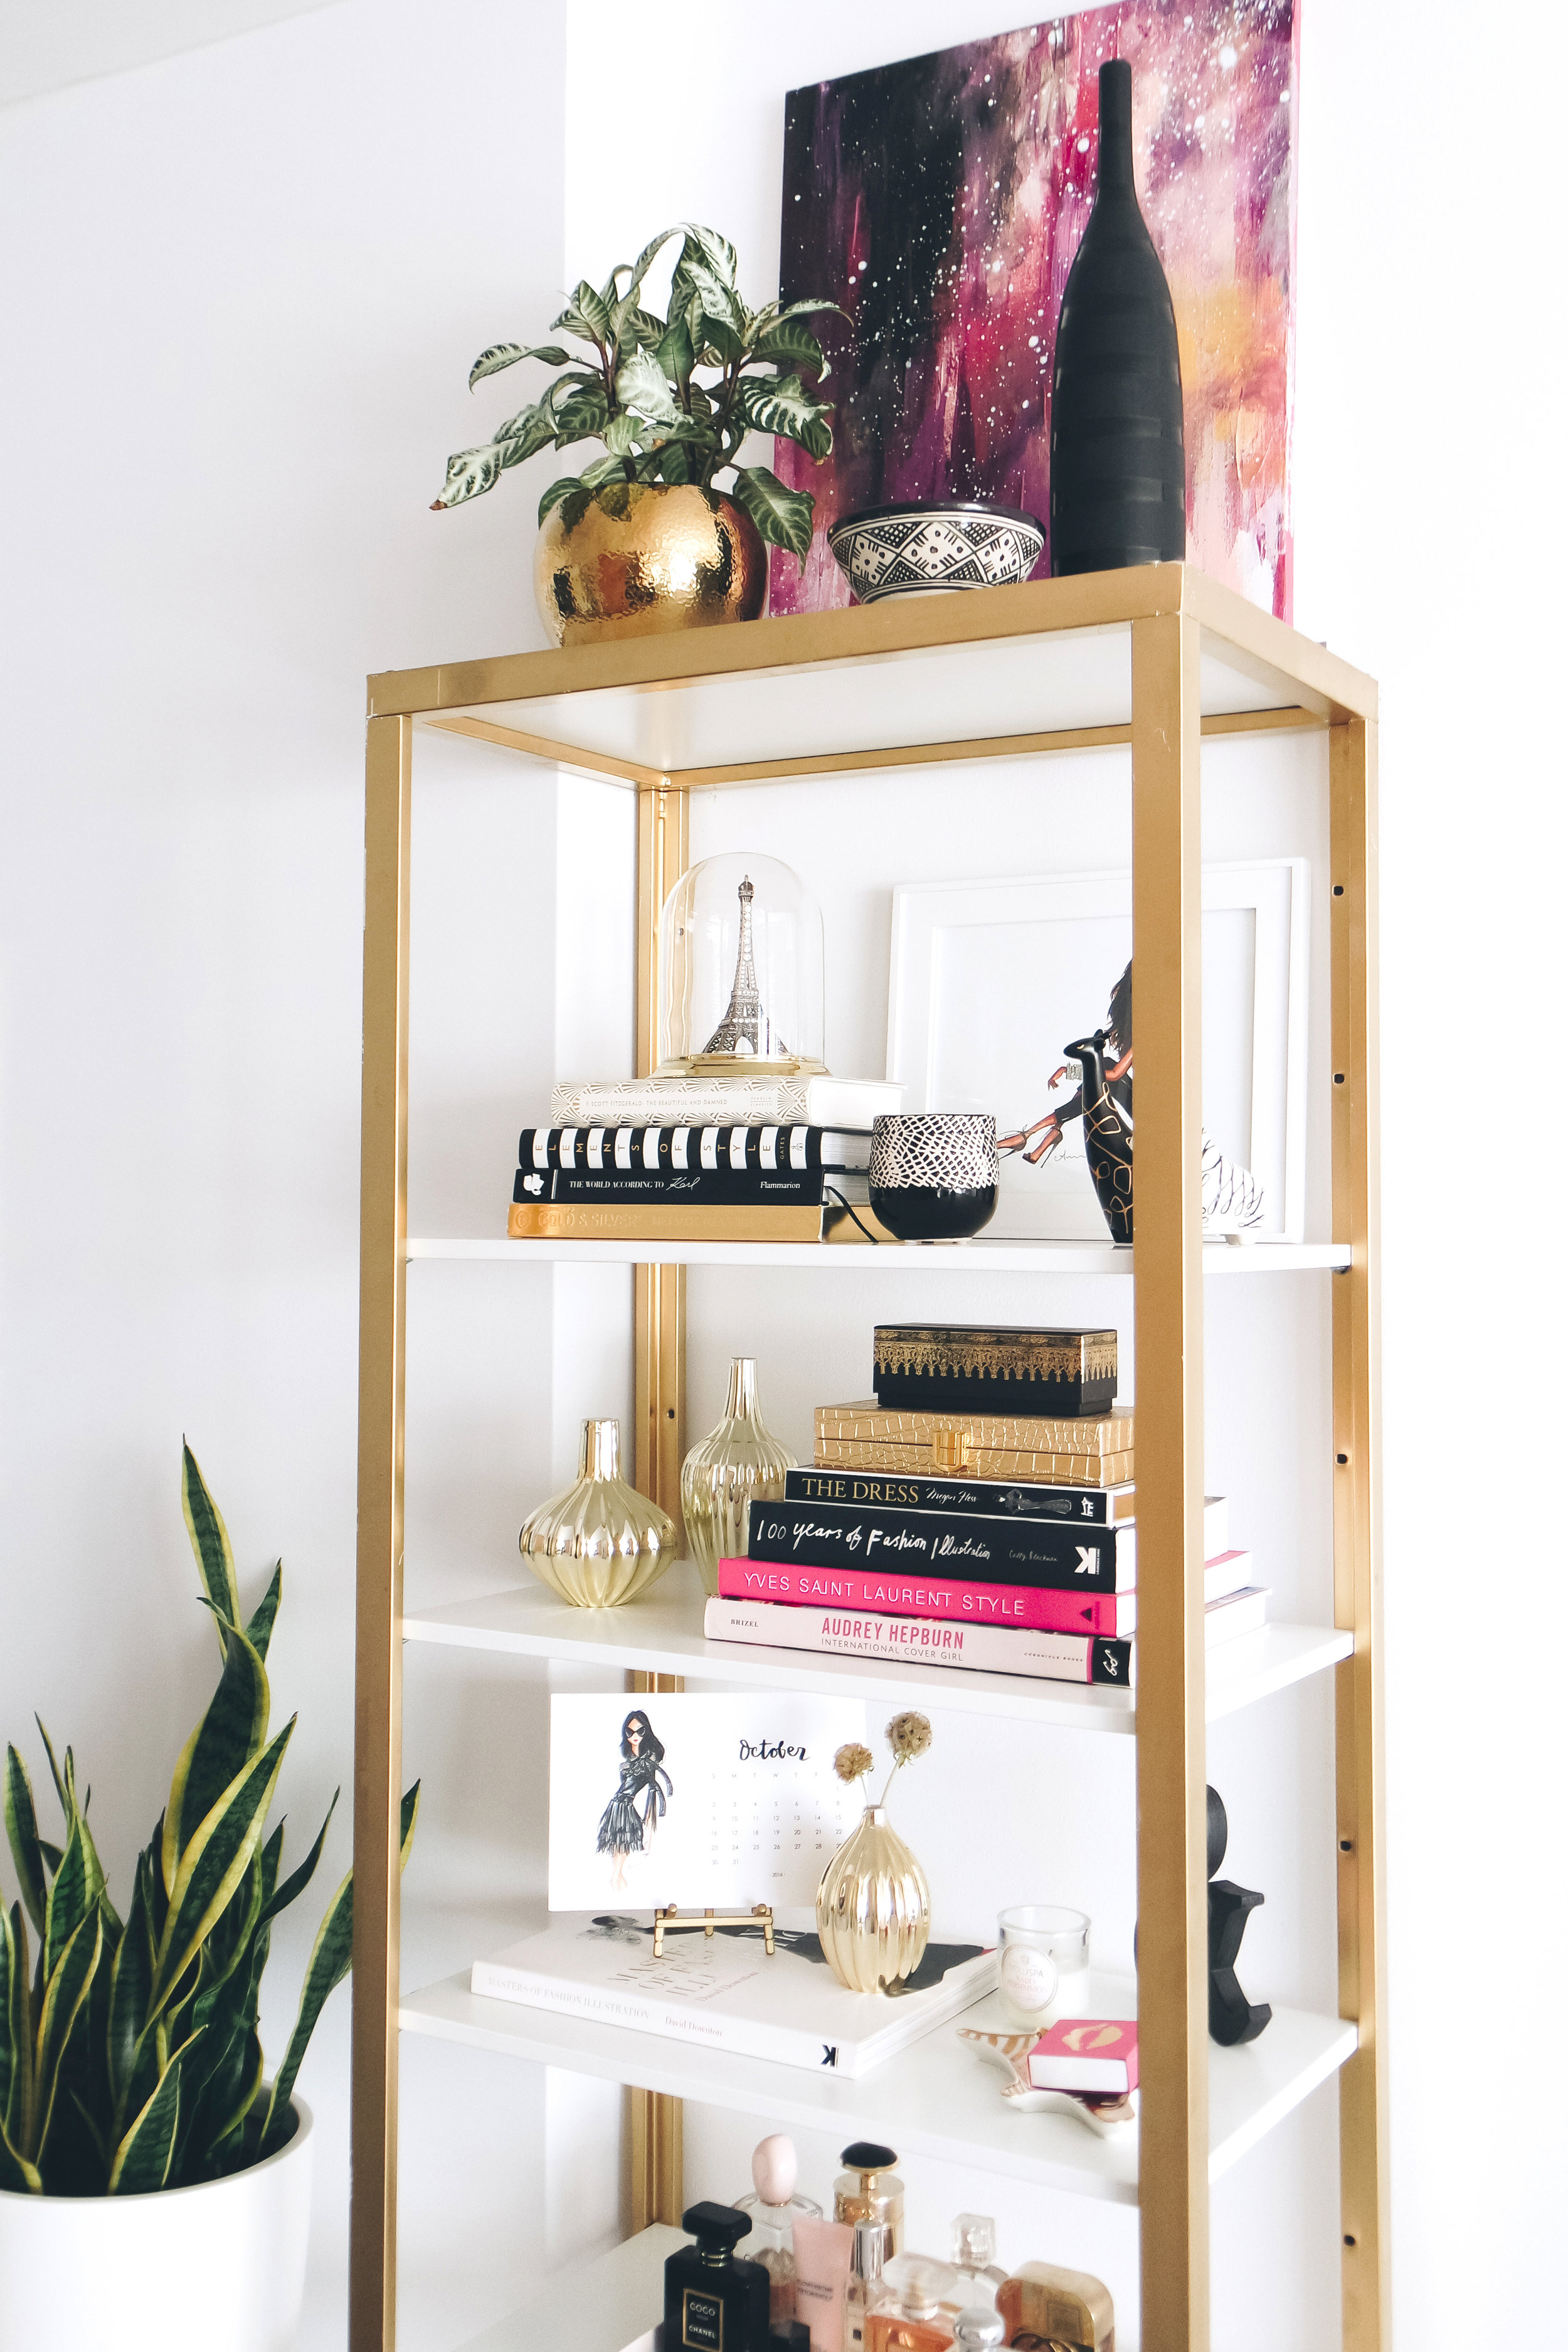
Once you know the wall area you're focusing on, and the furniture around that space, you can decide on your color story and general theme. For my gallery wall above, I opted for a color story of black, white, and gold with a glam fashion theme to compliment my workspace, and my personality. Think about the art that you'll use, and also decide on your frames, since these will contribute to the overall palette. Try repeating a few frame styles/colors in different sizes to create a unifying effect. For example, I stuck to black, white, and gold frames to help tell the color story, and repeated a few of the styles to keep it cohesive.

MIX IT UP

Try to work in a variety of pieces that are meaningful to you but still compliment each other. You could use your own travel photos, mixed in with paintings or prints from your favorite artist. Hand lettered pieces and quotes are also a fun way to add an inspirational element. If it works with your overall theme, you can experiment with adding dimensional objects like mirrors, antlers, or letters and symbols, to fill up the space and add personality.

DON'T BE AFRAID TO DIY

It's actually easier than you think, and can add a personal touch to your collection. I made the two abstract pieces here using ink on watercolor paper. Simply framing the art can make it look a lot more polished and impressive.

LAY IT OUT

Once you've selected your art and frames, lay it all out and play with the arrangement. I like to put all the pieces on the floor and rearrange until the colors and sizes compliment each other, and I create the right overall shape for the wall space. You can then use painter's tape to map things out on the wall and guide where each piece will hang. Leave an even amount of space between each frame, on all sides, so the art has room to breathe – depending on the size of your frames, and the size of your wall space, two to four inches should work.

Art Sources: 

Chanel Road Sign / Black and White “Madame Paulette Net Hat” Black and gold fashion illustration Chanel Fashion Soup “Dramatic” hand lettering High heel illustration

Shop the space: